Tenant Management Portal
For accessing the tenant management portal, navigate to the URL:
https://[FQDN]/admin
- Replace [FQDN] with your IDHub URL.
- Please click here for detailed instructions on how to configure FQDN.
Procure Tenant Management Admin Password
In the tenant management login page, you will asked to enter the tenant management admin password. Run the following kubectl command to get the tenant management password:
kubectl get secret tenant-admin-user-password -o jsonpath="{.data.password}" -n <IDHUB_INSTANCE> | base64 --decode
<IDHUB_INSTANCE>: Namespace of IDHub.
Tenant Management Login page
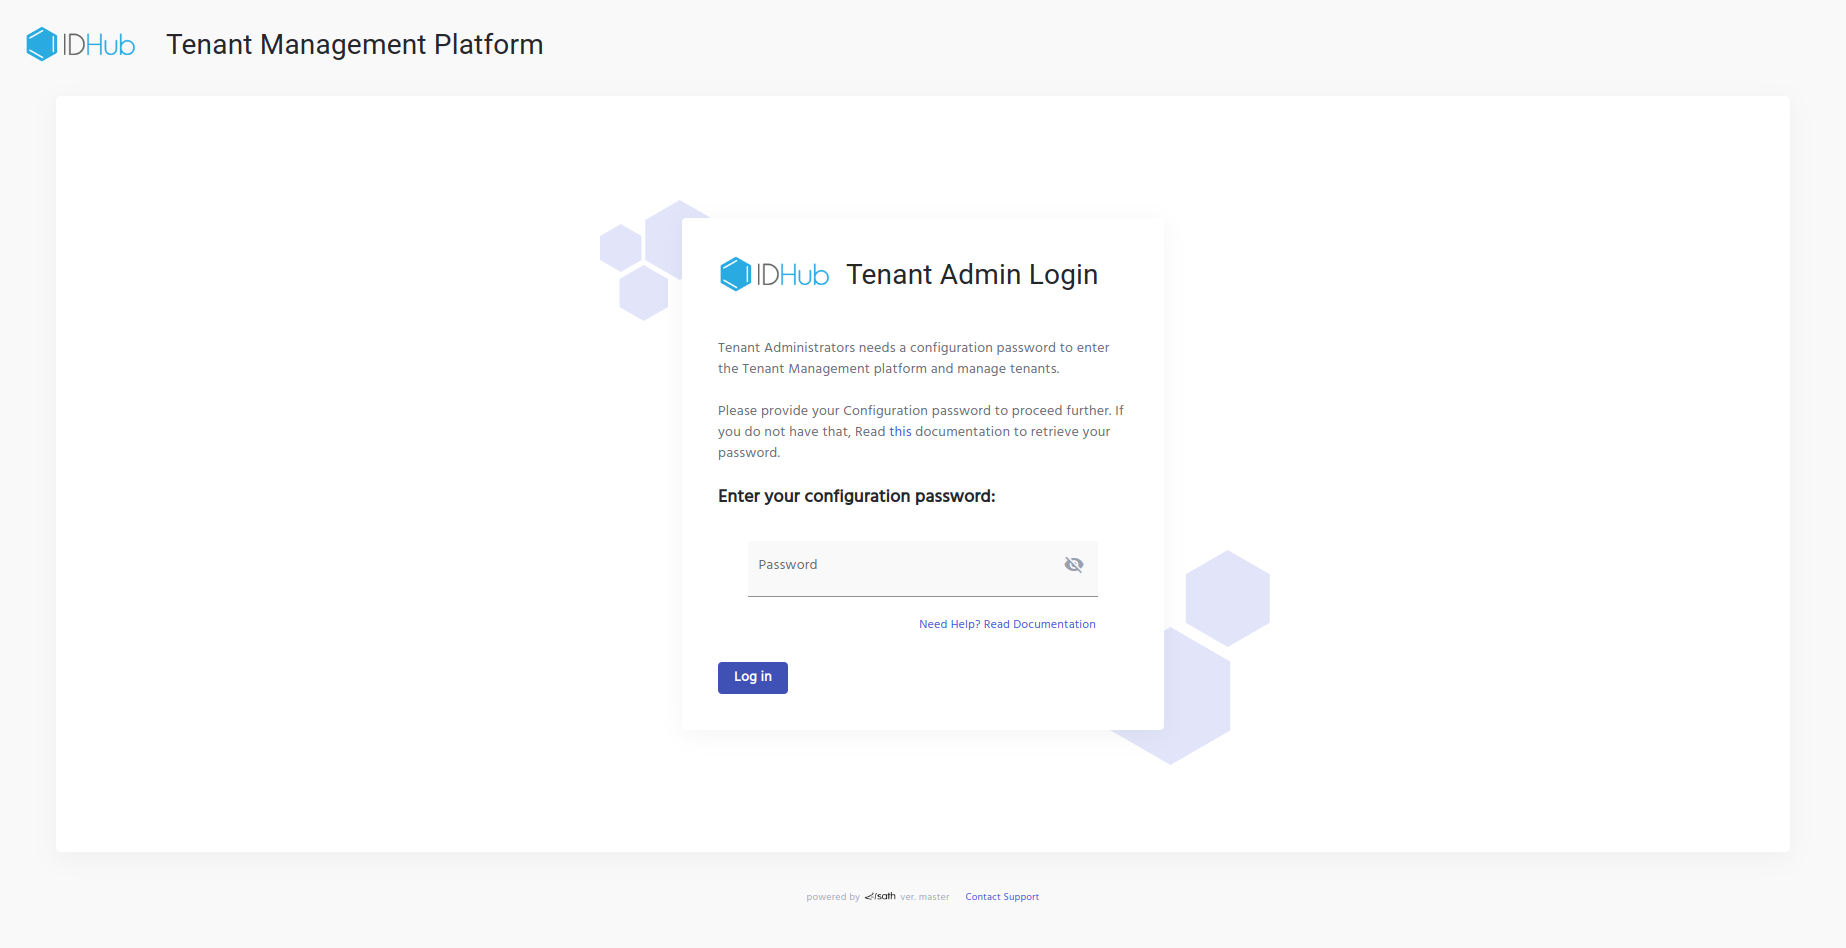
This is the login page for the tenant management portal. Here you need to enter the tenant management password and click the Log in button to go to the tenant management page.
Tenant Management Portal
After successfully logging into the tenant management portal, you will see the following page:
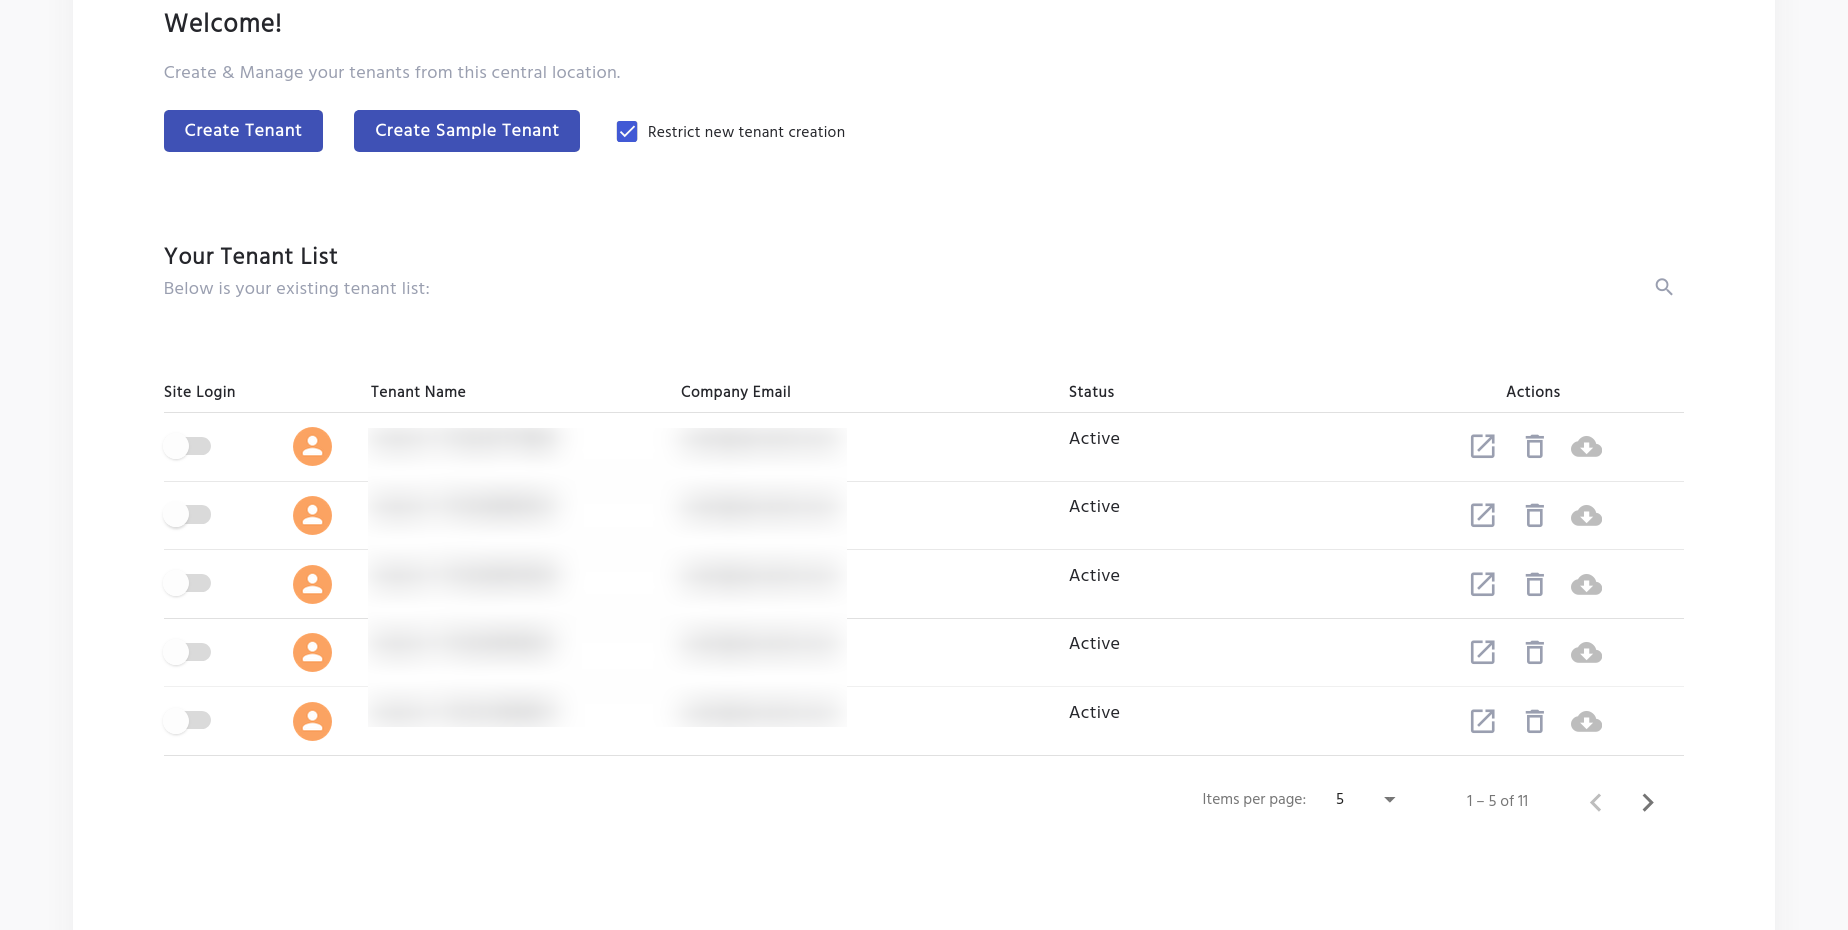
As is shown in the screenshot above this page shows the following action buttons:
- Create Tenant: This allows you to create a new tenant for your organisation.
- Create Sample Tenant: This allows you to create a new tenant with sample data in the IDHub instance.
Tenant List
The next section of the page shows the list of tenants that has been created and their related information. The details to be offered for each tenant and individual actions are as follows:
- Tenant Name.
- Company Email.
- Status (Active/Inactive).
- Actions.
Actions possible for each tenant in the tenant list
- Tenant URL: When the user clicks on the icon, the user would be redirected to the Tenant URL login page for that tenant.
- Delete Tenant: This allows you to delete the tenant.
- Backup: This allows you to create the backup for the tenant.